Staypoollizer 2.0 NXGEN · Brass Swivel · Owner Setup

Set Your Water Level. Check Your Setup. Enjoy More Time by the Pool.

Your Brass Swivel Staypoollizer is designed to replace pool water as it is lost. This guide shows how to select the right coping profile, connect your garden hose, adjust the float, and verify operation before leaving the system unattended.

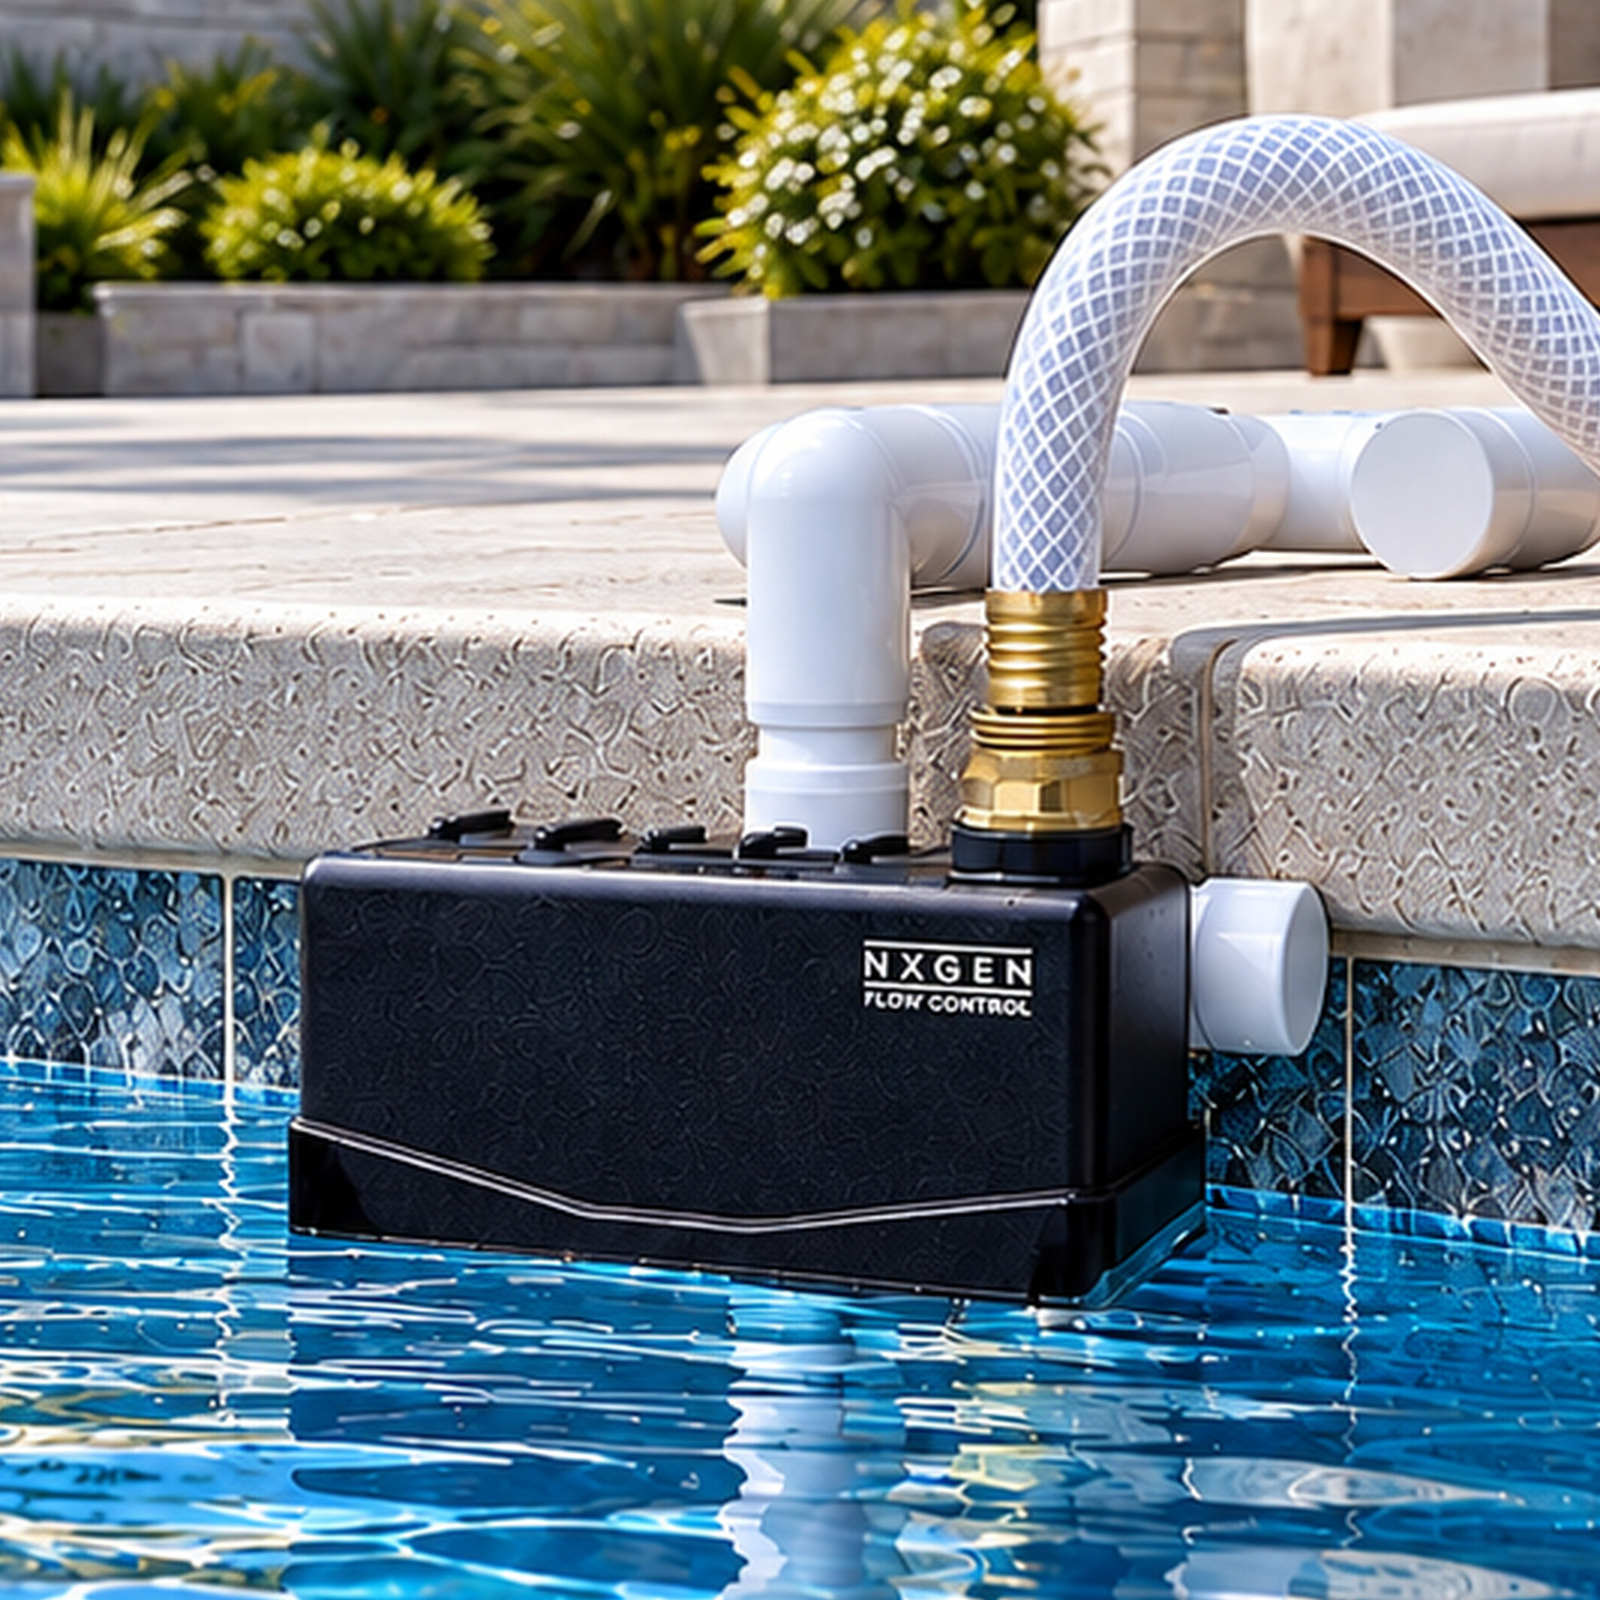
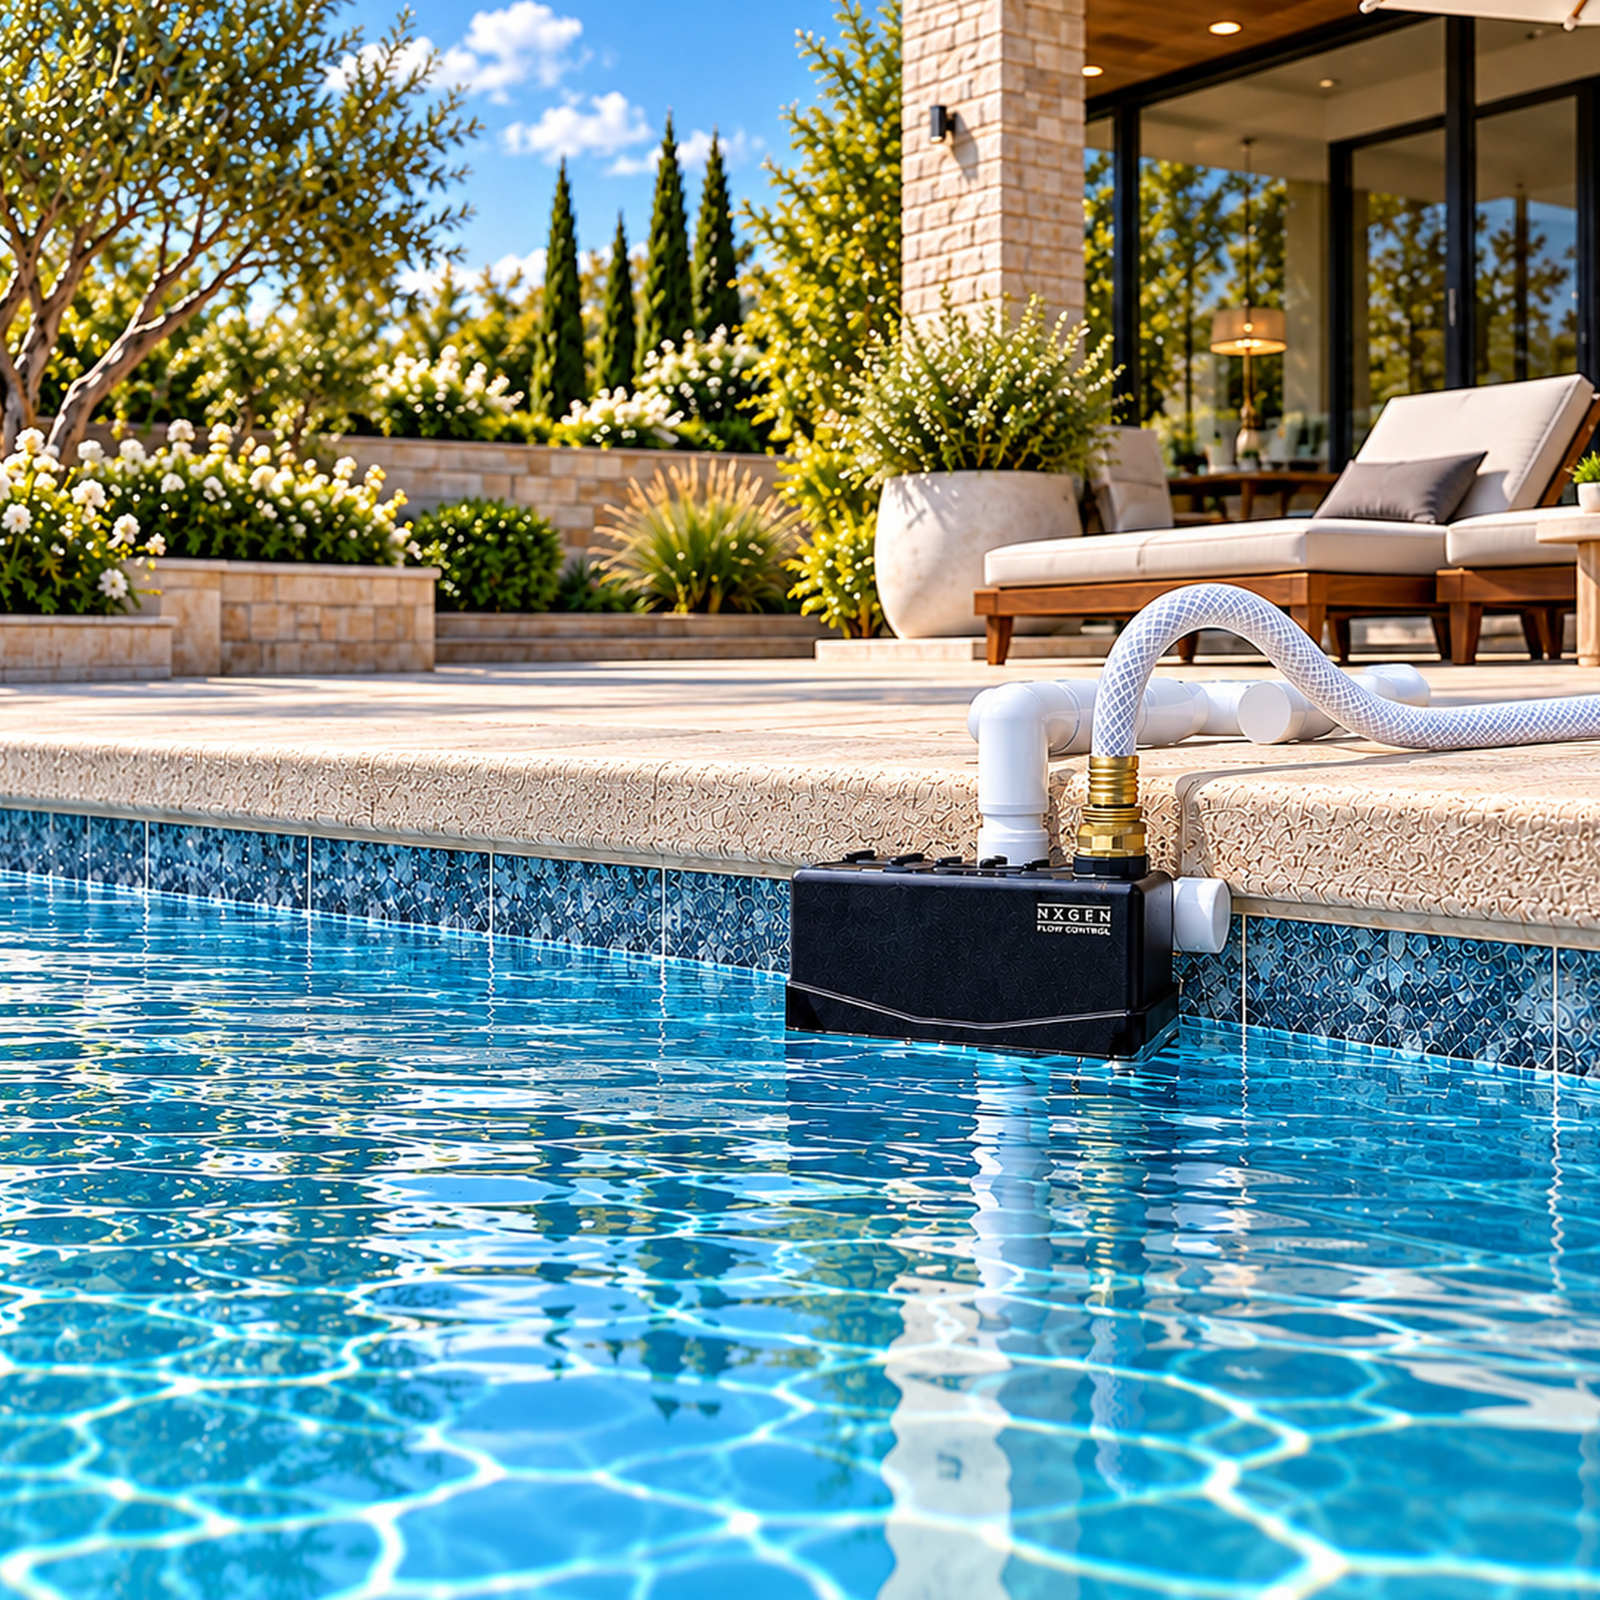
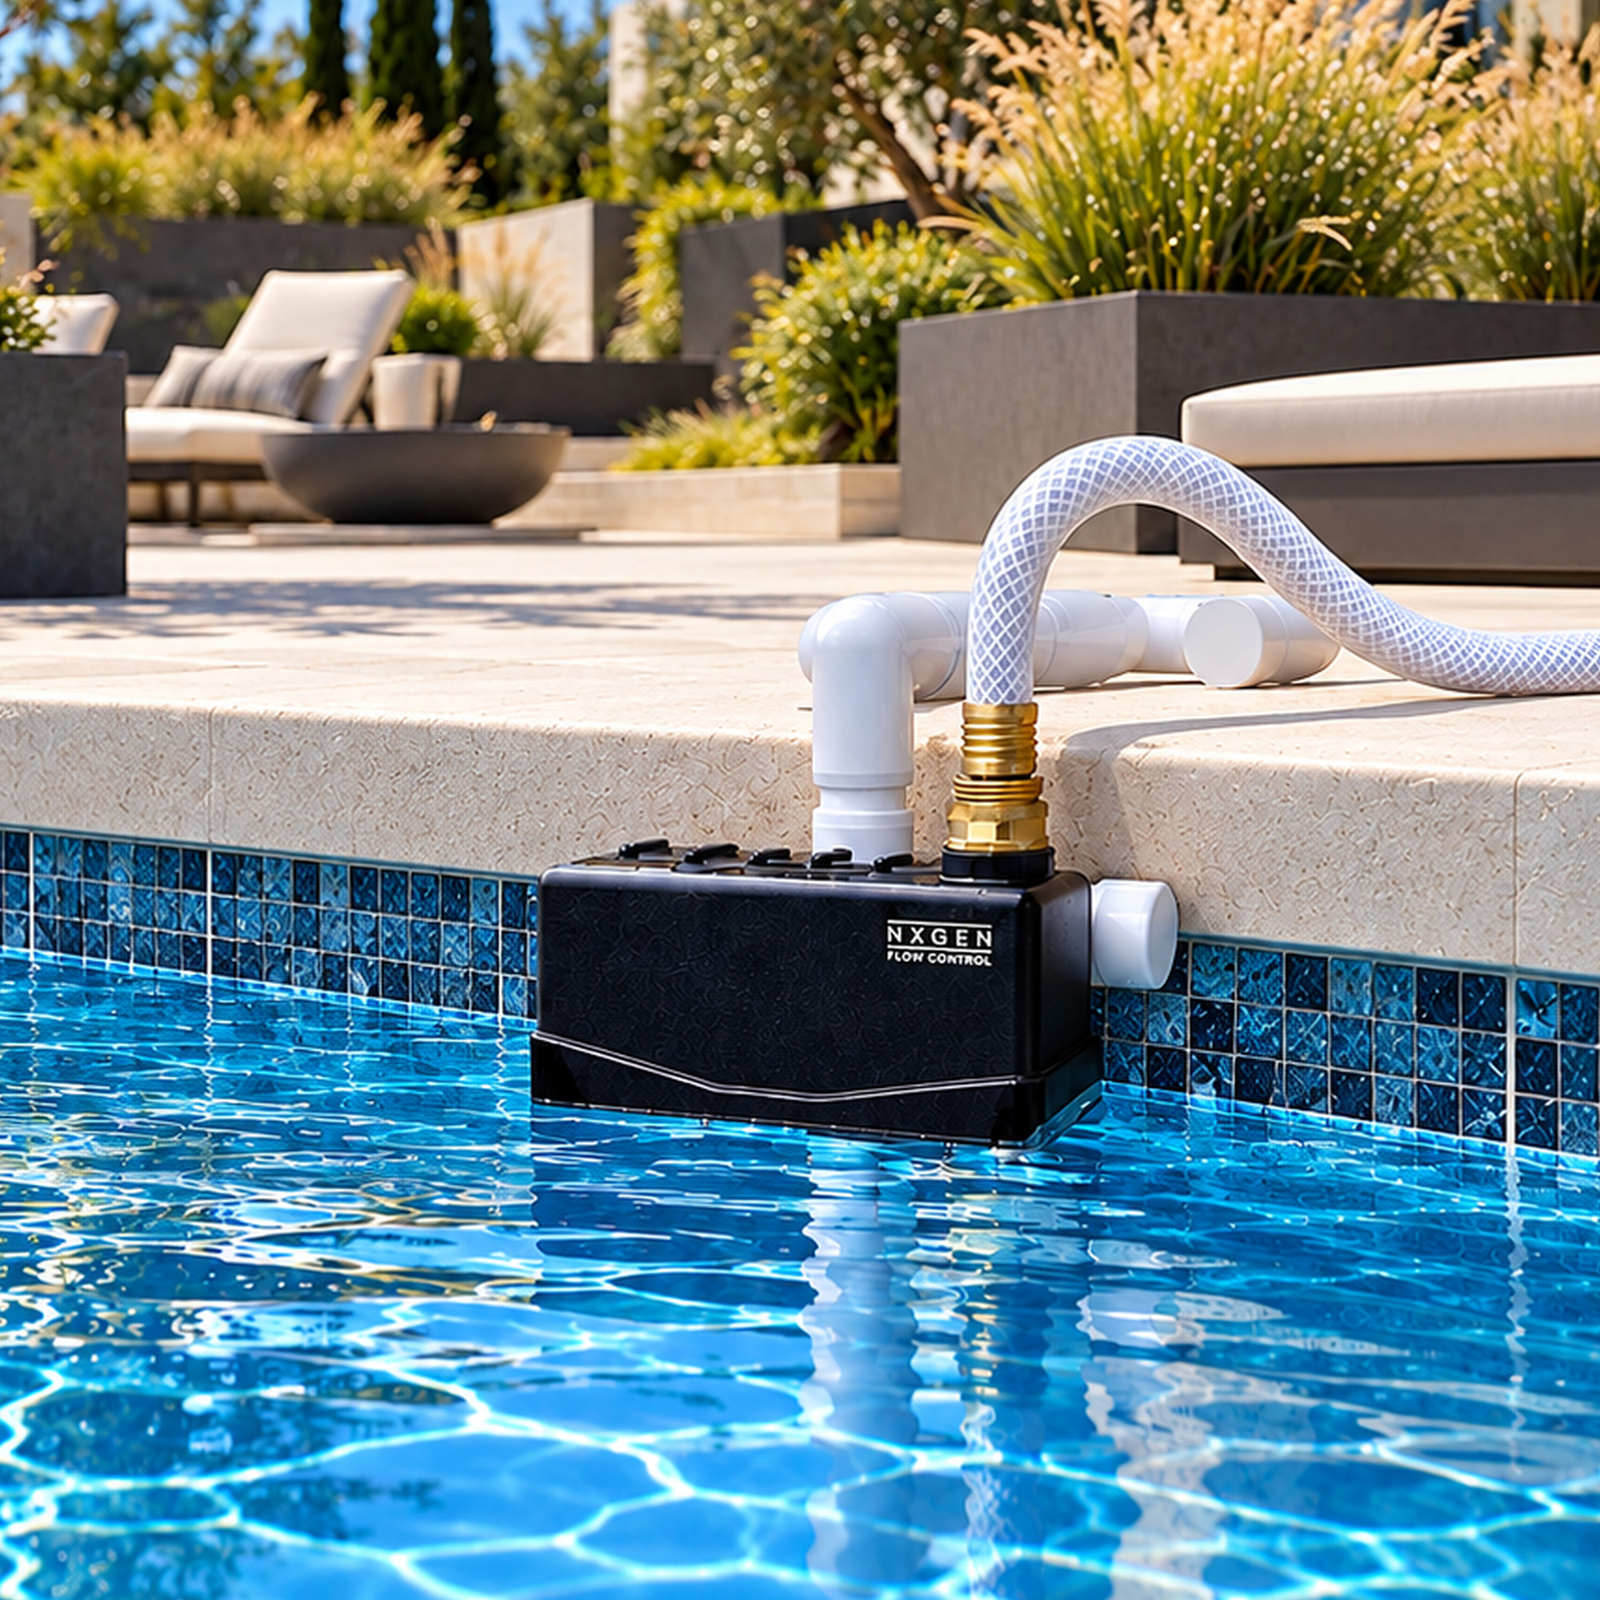
Staypoollizer 2.0 Brass Swivel installed at a luxury pool with its garden hose connected and black tank near the waterline
Rotating rear legsChoose a stable arrangement for your coping profile
4–9 in.Published float-assembly adjustment range
Brass swivelHand-tighten the garden-hose connection against its washer
Automatic floatReplenishes water when the pool level drops

Before You Start

A few checks help make setup straightforward

Have your garden hose ready and choose a secure location where the black float assembly can rest at the waterline.

Look at your pool coping.

Use the adjustable rear legs to fit flat, tapered, or raised coping while keeping the frame stable.

Check your hose-end fitting.

Use a compatible garden hose with undamaged threads. Avoid aluminum-end hoses at brass connections because galvanic corrosion can occur.

Plan hose placement.

Keep the hose flat and out of walkways. Remove the unit from the pool deck during social gatherings to reduce trip hazards.

Allow time to verify shutoff.

Stay with the system during initial filling and confirm both the manual float response and the water-level behavior before unattended use.

Guided Setup

Six steps to a properly adjusted Brass Swivel

Follow these six steps in order. Use the four-view coping diagrams and close-up illustrations where shown; the downloadable PDF is an optional reference.

Set the Rear Leg to Match Your Pool Edge

Choose the setup that matches your pool coping.

Brass Swivel authentic Flat coping side view, rear legs folded back, black float assembly
FlatRear Legs Folded Back
Brass Swivel authentic Flat coping side view, rear legs folded forward, black float assembly
FlatRear Legs Folded Forward
Brass Swivel authentic Tapered coping side view, for sloped coping, black float assembly
TaperedFor Sloped Coping
Brass Swivel authentic Raised Edge coping side view, for raised-edge coping, black float assembly
Raised EdgeFor Raised-Edge Coping

Compare your pool edge to the four examples. Rotate the rear legs for a stable fit, keep the black tank assembly inside the pool, and avoid walkways.
2

Position the Staypoollizer

Place the frame on the selected stable section of coping. Keep the black tank assembly inside the pool and the support resting on the deck.

Avoid walking areas; route the garden hose flat and out of foot traffic. Recheck the rear-leg position if the frame does not sit securely.

Staypoollizer Brass Swivel positioned on coping in a modern pool scene with a white hose connected to the brass swivel
3

Set the Height of the Float Assembly

Hold the white frame steady. Gently twist or rock the black float assembly as you slide it up or down the white pipe.

↑ Raise assemblyHigher water level
↓ Lower assemblyLower water level

Set the bottom edge of the black assembly near the center of your skimmer opening, then fine-tune. Adjustment range: approximately 4–9 inches. The rear legs are adjusted separately for coping fit.

Original real-product demonstration of sliding the black float assembly along the white vertical pipe to adjust water height

Actual no-tools adjustment demonstration.

4

Connect Your Garden Hose

Attach the hose to the brass swivel by hand. The flat face of the hose fitting must seat against the washer inside the swivel to seal properly.

If the hose-end fitting still moves side to side or the swivel rotates loosely after tightening, turn off the faucet and inspect the hose-end threads. Damaged threads can prevent a secure washer seal.

Avoid aluminum hose ends. Contact between aluminum and brass can cause galvanic corrosion; inspect silver-colored ends rather than assuming they are brass.

Brass Swivel fitted with a white braided garden hose at the brass swivel on pool copingClose-up reference of the Brass Swivel connection hardware
5

Turn On Water Slowly and Test Manual Shutoff

Open the faucet only enough to provide no more than a steady stream. High flow is not needed for ongoing pool-level maintenance.

While water is flowing, gently lift the float inside the black tank assembly. Water should stop when the float is raised and resume when the float is released below the selected water level.

Help limit unintended water loss: A slower supply flow may reduce how much water escapes if a hose or connection fails while the system is unattended. Reducing flow does not prevent leaks or replace periodic inspection and shutoff checks.

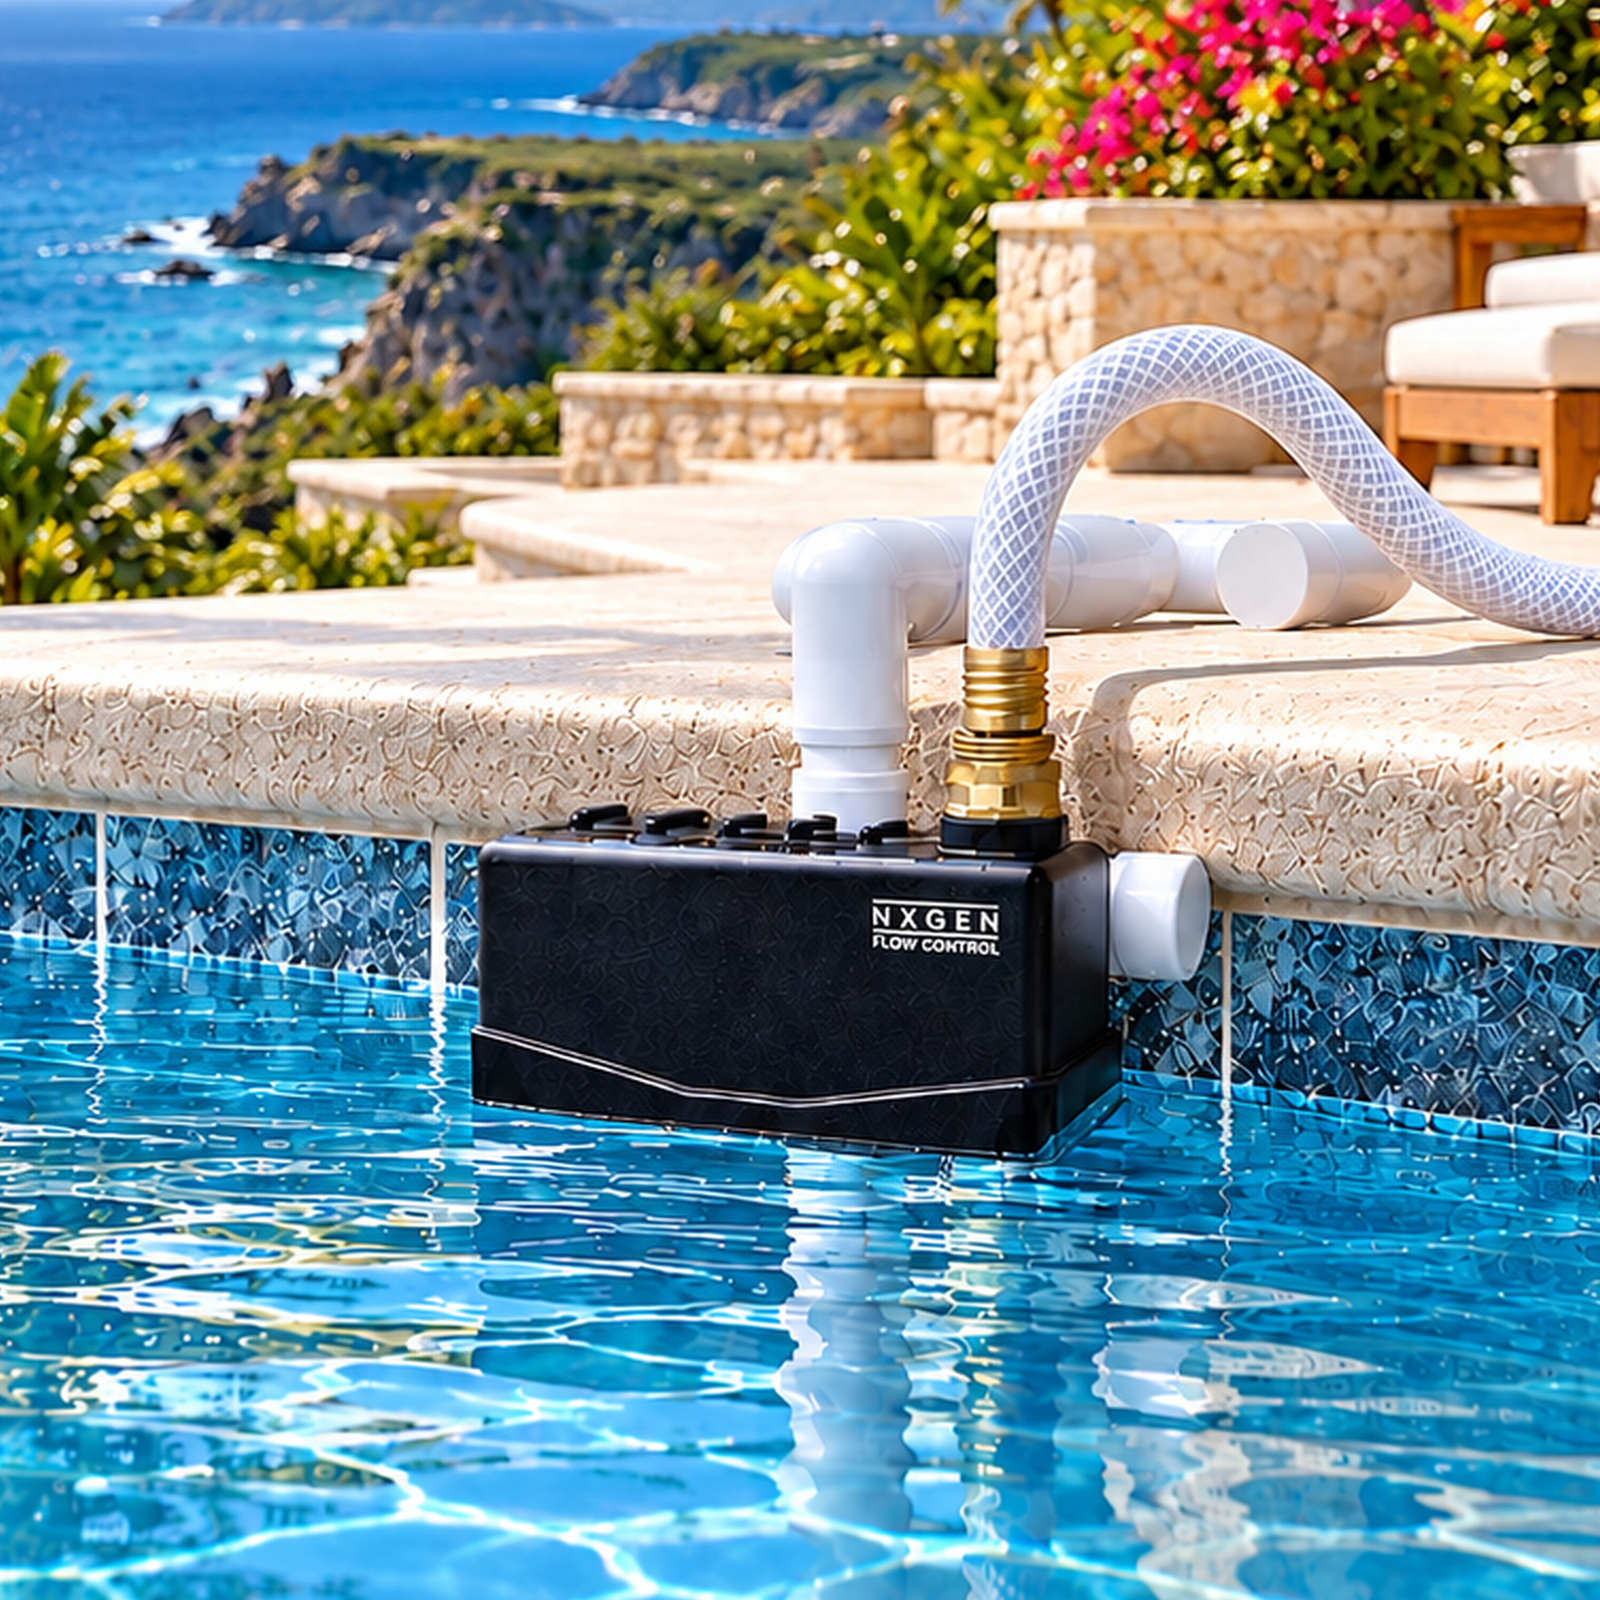
Brass Swivel installed beside a coastal swimming pool with white braided hose connected; lift the internal float by hand to test shutoff
6

Verify Automatic Water-Level Operation

Watch the pool waterline in relation to the bottom edge of the black float assembly. As the pool reaches the selected level, the float controls water entering the pool.

Water stays at the selected level

Normal pool water loss from evaporation or splashing may require periodic replenishment. If incoming water continues while the level stays steady or low, investigate potential water loss rather than assuming the valve is malfunctioning.

Water rises above the selected level

Turn off the faucet immediately. Inspect float movement and obstructions before continued use. Do not leave a system that is overfilling unattended.

Before leaving it unattended: Confirm manual float shutoff and the waterline behavior, inspect the hose and connections, and keep the supply restricted to a steady stream.

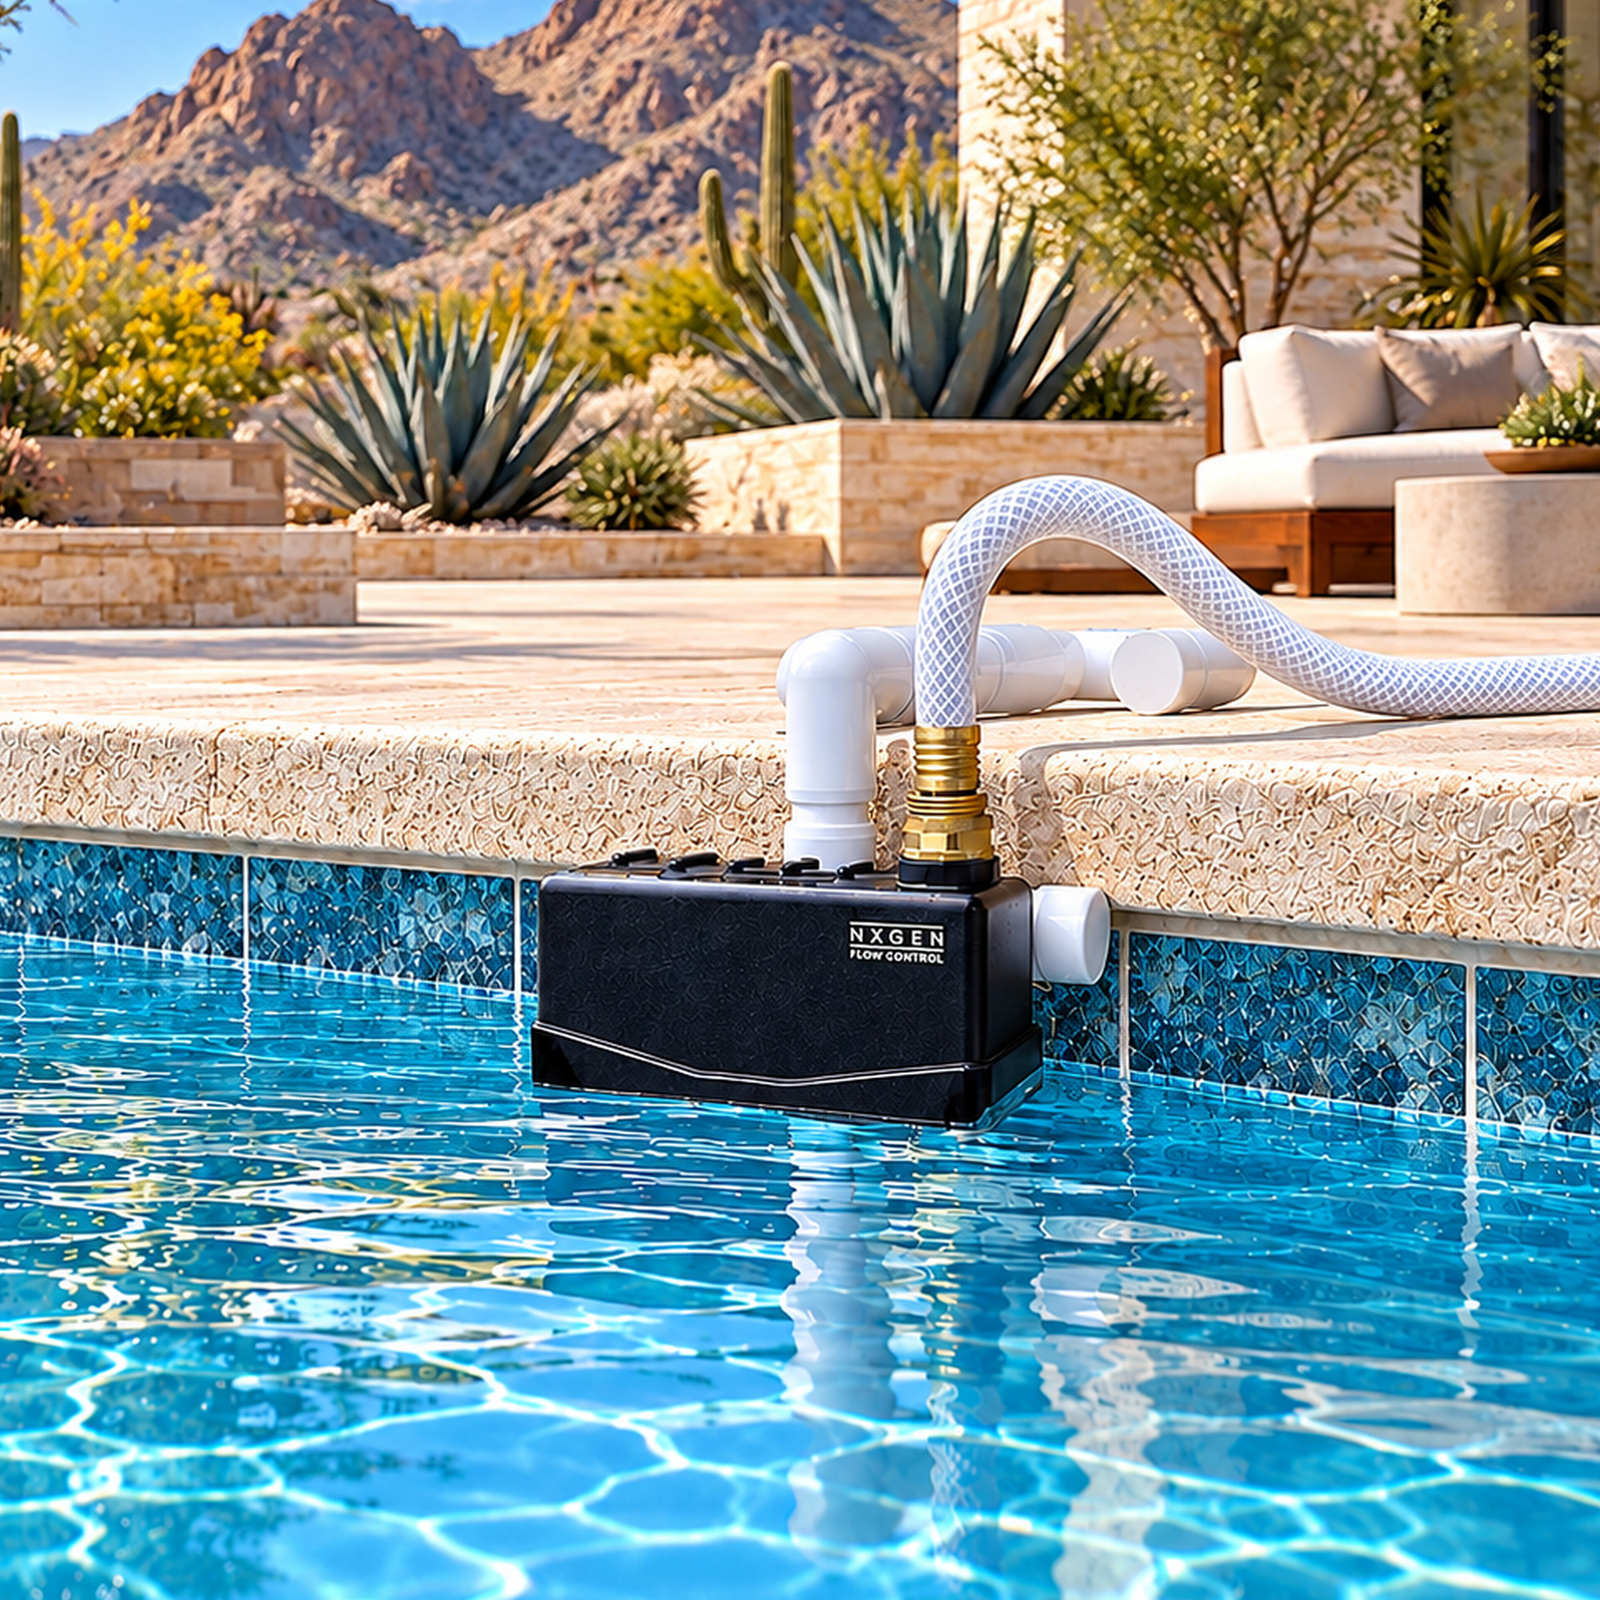
Brass Swivel installed with a connected garden hose at a mountain residence pool for observing the selected waterline

After Your Setup Checks

Ready for Easier Pool Care

Once you confirm manual shutoff, stable deck placement and a water level that stays at your selected setting without rising above it, your Brass Swivel Staypoollizer can replenish pool water as needed.

Check the system, faucet supply, and hose connections periodically, particularly before and after time away from the pool.

Help Another Pool Owner

Share Your Experience on Amazon

Once you have had an opportunity to use your Staypoollizer 2.0 Brass Swivel, your honest experience can help another pool owner understand the product and make an informed choice.

Reviews are voluntary. No rating, positive feedback, or purchase incentive is requested. You can contact support regardless of your experience.

Ownership Resources

Support for the Pool Season and Beyond

Water flow, ongoing water loss, and true overfilling

Staypoollizer replaces water when the pool level drops. If it keeps supplying water but the waterline remains steady or below your setting, evaporation, splashing, or an existing pool leak may account for the loss. Continued flow alone does not prove a defective shutoff. If the waterline rises above the chosen point, turn off the faucet and inspect the float before continued use.

Keep faucet flow to a steady stream to help limit water lost during unexpected hose or connection leakage. Throttling the faucet changes flow, not the closed-valve static supply pressure.

The brass swivel connection is loose or leaking

Turn off the faucet. Confirm the hose end is compatible, the hose washer is present, the threads are undamaged, and the hose fitting face can seat against the washer. Hand-tighten the hose. If the connection remains loose with lateral play, inspect or replace the damaged hose-end fitting. Avoid aluminum-ended hoses on brass fittings.

Placement, trip hazards, and weather care

Place on stable coping and keep attached hose flat, away from foot traffic. Remove the unit from the pool deck during social gatherings. For freezing conditions, disconnect and drain the hose and assembly; protect the product from prolonged dry-heat exposure when not submerged.

Limited One-Year Warranty and printable instructions

All genuine Staypoollizer products are covered by a Limited One-Year Warranty for qualifying defects in materials and workmanship under normal residential use, subject to the complete published warranty terms.

View Complete Warranty Terms

Open the Brass Swivel setup PDF (one page).

Model: Staypoollizer 2.0 NXGEN Brass Swivel · Support: contact@jcscoinc.com

Brass Swivel Setup

Simple Slide Adjustment

To adjust the Staypoollizer water level:

  1. Slightly twist the float assembly and move it up or down.
  2. Align the lower edge of the float assembly to your desired water height—usually around the center of the water skimmer.

Simple and effective!

Warning Water Hose with Aluminum Fittings Cause Galvanic Corrosion

If you have purchased any garden hose with ALUMINUM end fittings/couplers, you should be aware there is a condition that occurs between two dissimilar metals known as Galvanic Corrosion.

Water Hose Connection to the Staypoollizer

To ensure a leak-free connection, the male hose fitting face must contact the washer inside the Staypoollizer fitting.

Purchased your Staypoollizer on Amazon?

Share your product experience to help other pool owners make a more informed choice.